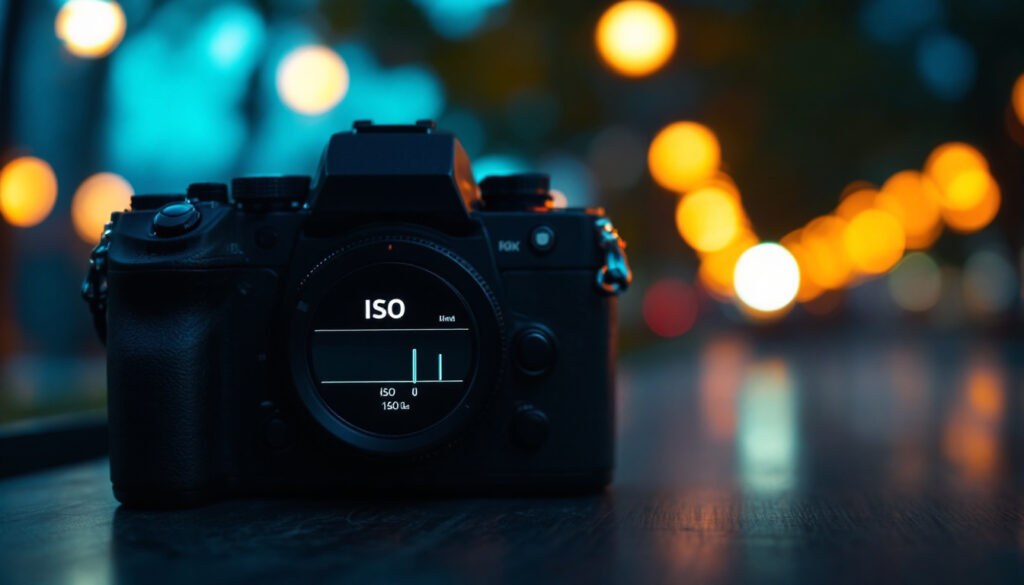
Understanding ISO: The Basics
ISO in photography refers to the sensitivity of your camera’s sensor to light. Originally, ISO was a standard for film sensitivity, but in the digital age, it has been adapted to describe the sensitivity of the camera’s sensor. The ISO scale typically ranges from 100 to 6400 or higher, with lower numbers indicating less sensitivity to light and higher numbers indicating greater sensitivity.
When you adjust the ISO setting on your camera, you are essentially telling the camera how much light it should capture. A lower ISO setting is ideal for bright environments, as it allows for a clearer, more detailed image with minimal noise. Conversely, a higher ISO setting is beneficial in low-light conditions, as it increases the sensor’s sensitivity to light, allowing you to capture images without the need for additional lighting.
However, increasing the ISO setting comes with a trade-off: higher ISO settings can introduce noise or graininess into your images, which can detract from their overall quality. Therefore, finding the right balance between ISO, aperture, and shutter speed is key to achieving the perfect exposure.
How ISO Affects Exposure
The Exposure Triangle
ISO is one of the three pillars of the exposure triangle, alongside aperture and shutter speed. Together, these three elements control the amount of light that reaches the camera’s sensor, ultimately determining the exposure of your photograph. Adjusting one element of the triangle necessitates changes to the others to maintain the desired exposure.
Aperture controls the size of the lens opening, affecting the depth of field and the amount of light entering the camera. Shutter speed determines how long the camera’s sensor is exposed to light, influencing motion blur and light capture. ISO, as previously mentioned, adjusts the sensor’s sensitivity to light. Mastering the interplay between these three components is essential for capturing well-exposed images.
Balancing ISO with Aperture and Shutter Speed
When shooting in low-light conditions, photographers often face the challenge of capturing a well-exposed image without introducing noise. In such scenarios, increasing the ISO can be a viable solution, but it should be done with caution. Raising the ISO allows for faster shutter speeds or smaller apertures, which can help in freezing motion or achieving a greater depth of field.
However, it’s important to remember that higher ISO settings can lead to increased noise, which can degrade image quality. To mitigate this, photographers can use noise reduction techniques in post-processing or opt for cameras with better low-light performance. Ultimately, the goal is to find a balance that allows for the desired exposure while maintaining image quality.
Practical Tips for Using ISO
When to Use Low ISO
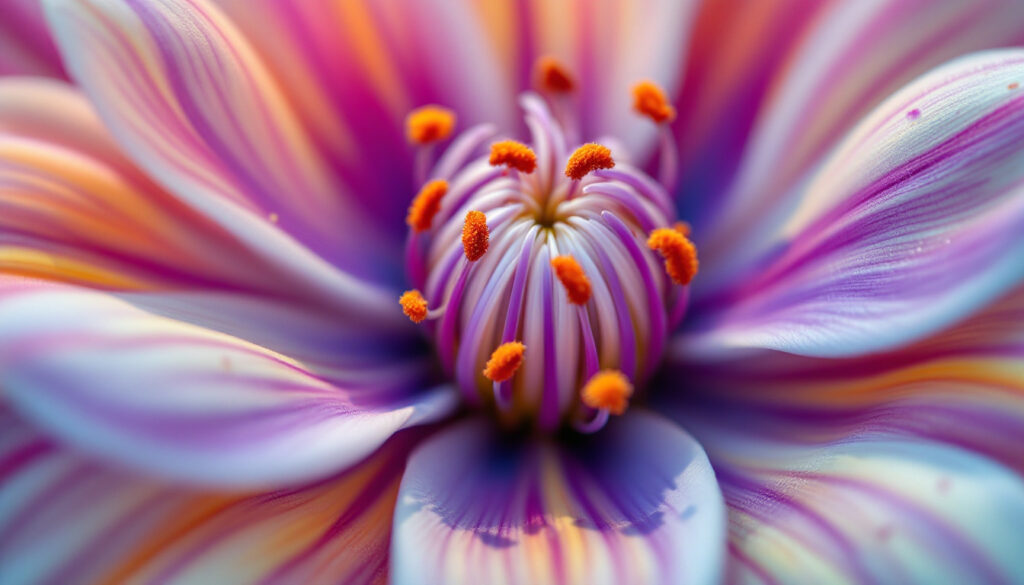
Low ISO settings, such as ISO 100 or 200, are ideal for bright, well-lit environments. These settings minimize noise and produce images with the highest possible quality. When shooting landscapes, portraits, or any scene with ample natural light, using a low ISO is recommended to capture sharp, detailed images.

Additionally, low ISO settings are beneficial when using a tripod, as they allow for longer exposure times without the risk of camera shake. This is particularly useful for capturing long-exposure shots, such as flowing water or star trails, where maintaining image clarity is paramount.
When to Use High ISO
High ISO settings, such as ISO 1600 or 3200, are useful in low-light situations where additional lighting is not available or practical. This includes indoor photography, nighttime scenes, or events where flash photography is prohibited. Increasing the ISO allows for faster shutter speeds, reducing the risk of motion blur and enabling handheld shooting.
While high ISO settings can introduce noise, modern cameras often come equipped with advanced noise reduction capabilities that help maintain image quality. Photographers should experiment with different ISO settings to find the optimal balance between exposure and noise for their specific camera model.
Advanced Considerations
ISO and Camera Technology
Advancements in camera technology have significantly improved ISO performance, allowing photographers to shoot at higher ISO settings with minimal noise. Full-frame cameras, in particular, offer superior low-light performance compared to crop-sensor cameras, making them a popular choice for professional photographers.

Moreover, many modern cameras feature auto ISO settings, which automatically adjust the ISO based on the lighting conditions. This can be a useful tool for photographers who need to quickly adapt to changing environments without manually adjusting settings. However, it’s important to understand how auto ISO works and set appropriate limits to prevent excessively high ISO values.
Post-Processing and ISO
Post-processing software, such as Adobe Lightroom or Photoshop, offers powerful noise reduction tools that can help mitigate the effects of high ISO settings. These tools allow photographers to fine-tune their images, reducing noise while preserving important details and textures.
When editing high-ISO images, it’s crucial to strike a balance between noise reduction and detail retention. Overzealous noise reduction can lead to loss of detail and a “plastic” appearance, so careful adjustments are necessary to achieve the desired result. Photographers should experiment with different noise reduction settings to find the optimal balance for their images.
Conclusion
ISO is a vital component of photography that directly influences the exposure and quality of your images. By understanding how ISO works and how to adjust it effectively, photographers can capture stunning images in a variety of lighting conditions. Whether shooting in bright daylight or dimly lit environments, mastering ISO and its relationship with aperture and shutter speed is key to achieving the perfect exposure.
As camera technology continues to evolve, photographers have more tools at their disposal to manage ISO and capture high-quality images. By staying informed about the latest advancements and experimenting with different settings, photographers can continue to refine their skills and produce exceptional work.
Now that you’ve honed your understanding of ISO and its impact on your photography, it’s time to ensure your masterpieces are shared and managed with the same level of professionalism. Discover Cliqora, the SaaS platform designed to streamline how photographers share content with clients. Experience the ease of super fast resumable uploads, and let your clients relish in the convenience of perpetual access through our mobile app. With AI-powered face detection, sharing becomes a breeze, ensuring privacy and precision. Plus, with Cliqora’s client, contract, and payment management features, your photography business will flourish. Take the first step towards efficiency and register for early access to create your first project on Cliqora for free. Elevate your photography business today!